Friday, January 31, 2014

1840 day Dress Reloaded: Houston we have a problem.......err problems?

Today I completed the sleeve jockeys and sewed both those and the sleeves in. Feeling very confident I put it on pinning the back at the top for fit. I even put on my ruffled petti for good measure. But lo and behold there it was staring me in the face.
 
 Giant, massive, scary shoulders. #FacePalm.
The bodice is sized well for my waist and so on but across the shoulder it's simply too wide. And it ruins the entire affect.
 

Here it is pinned up looking slight less hideous. I'm faced with the choice of A) Taking apart the bodice at the shoulder and taking up an inch or so all over or B) Simply take up more fabric at the arm hole. I'm not sure what to do at this point. Either way the sleeves need to come off again so I can do that right away. But I may take the night to sleep on it and see what to do tomorrow.
 

As a side not I also tried to put on my shoes I had planned to wear with this. And those don't fit either! I put in my order for my Gettysburg's from American Duchess. But those wont be ready until some time in April. #FacePalm. 

Tuesday, January 28, 2014

The Sleeve Jockey

 
Today I cut and sewed my sleeves for the 1840 Day Dress: Reloaded. Fairly simple today just sewed them initially with a1/2 in seam allowance and then pinned them to fit. Using my tailor chalk I removed the pins I had placed, marked the line and sewed the new seam. I usually tailor my sleeves this way because I find that the pattern usually is too large.


I also spent some time pulling together some extant examples of sleeve jockeys that I liked.


This last example being my favorite but alas I think I'll save this for if I ever get the courage to make a repro of the dress.


I made two test samples to see how they looked. I really liked the first example with the ruffle and piping.
 

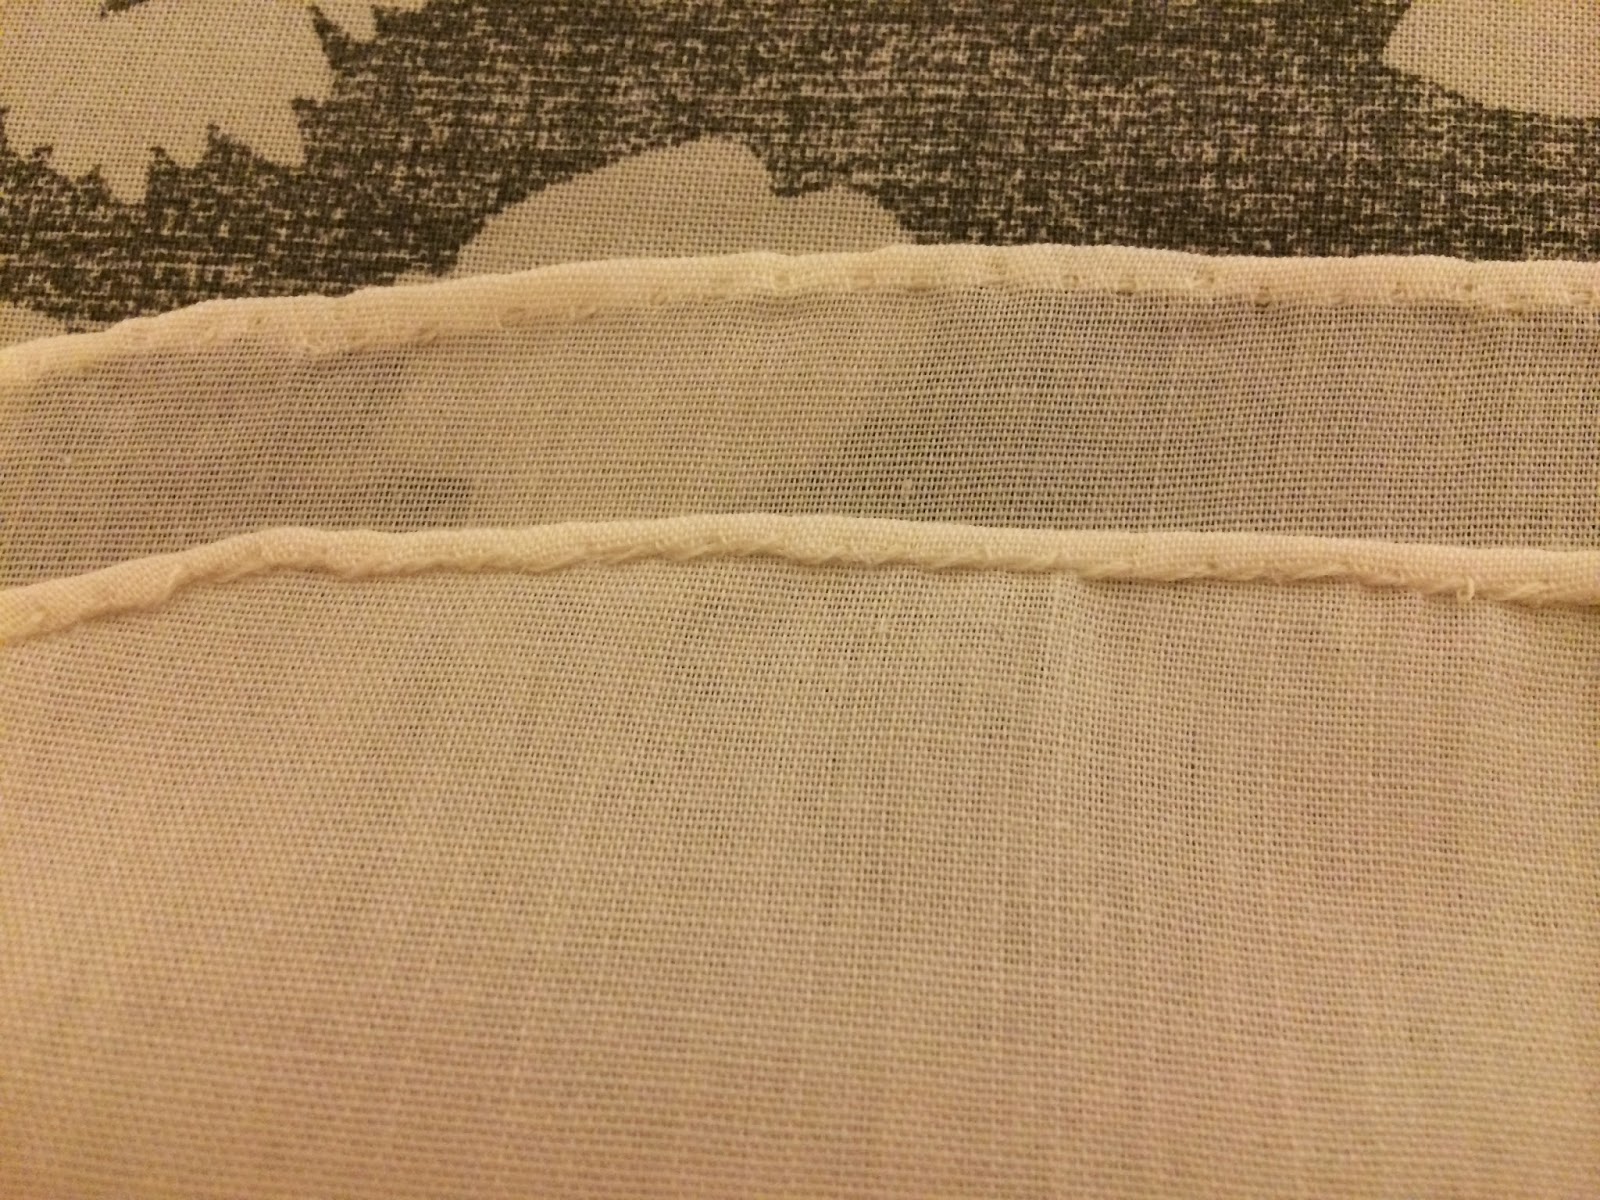
 It would figure that I like the one that took longer and was a bit of a pain to sew on the machine. Just to add I also used a 1 inch seam allowance to take up some slack. It may have taken up too much so perhaps I'll use 3/4 in instead.  


Sunday, January 26, 2014

Completed Day Cap

I took the time to throw together the cap this evening. I'm not the best at a narrow hem but I gave it my best shot.
I used some leftover batiste fabric in the stash and tea stained it so that it would match the lace better.

Once you get going on the hem it isn't so bad although it did give me a terrible cramp in my hand.

 
The lace, ribbon and flowers also came from my stash. The flowers I recycled from my failed attempt at an 18th century hat.
 
It feels slightly awkward and I'm not sure if I'll end up wearing it but we'll have to see. I can't help but feel that it doesn't have enough "stuff" on it. I always hold too hard to the saying that less is more.

Friday, January 24, 2014

A Reticule and Cap.

 
Last evening before bed, I threw together a simple reticule made from the same scrap fabric I've been using to line the 1840's day dress.
 

Extremely simple and utilitarian. It'll hold stuff, nuff said.
 
 
I did however run across an interesting BBC Mini Series called, Death comes to Pemberly. I'm completely out of commission tonight having been to the dentist today. Hate the dentist. So I've just laid in bed this afternoon and watched the whole thing. Pretty good if you ask me. Unless your a purist who can't stand to see an author create sequels to another's completed work. 
If that's the case you'd hate it...so stay away.
 
 
I only mention it because I came across it on someone's blog while looking for representations of "day caps" or "flat caps". Hope I have the name right. Anyway a few months back I picked up the Flat Cap Pattern 9701 from Hats by Leko. So I selected Cap A from the pattern it being based off of a cap from 1843, or so the pattern states.
 
I'm sure there are other images out there that I haven't found yet but here are two examples. In both fashion plates the lady second from left is wearing a cap. The first most likely being an earlier example and the second later in the 1840's if not 1850's. Either way I feel like I can move forward with this pattern. The next thing to do would be to finish the silly dress. Most logical.  ;) 
 

Thursday, January 23, 2014

No it isn't done yet......

Yesterday evening I took the time to put it on and see how I did. Well it isn't the worst thing in the world. I for sure can't wear the maternity corset I made.It just puts was too much pressure on my stomach. Lord knows I have enough of that going on already. I was only able to get my husband to help me long enough for pics of the back. Please excuse the cat hair here, there simply isn't any point to trying to get rid of it yet.

 
After taking a look at the fit I took the bodice off the waistband and took up another half inch of fabric for a total of 1 inch seam allowance. I've yet had the time to put it back on and test the fit but either way I think it should be fine. I'm a little less satisfied with the front of the bodice at the front side seam. It has slightly too much wiggle room.


I'm using some scrap fabric for lining the waistband, the boning and the hem. I've just whip stitched it all in place. I can't remember if dresses during the 1840's would have been finished inside or not. There was simply too much fraying for my personal taste to not try and clean it up a bit.
 
 
Last but not least my hem. The scrap fabric will hopefully keep the bottom inside clean and can be replaced at a later time if it becomes too tatty. I enjoy doing the finishing work by hand. It makes the evening hours pass peacefully.


Wednesday, January 22, 2014

1840's Day dress: Reloaded Take Two

Hola! Back to work again on the Day Dress: Take Two. After reading that Dickens will be on Feb 22nd and 23rd, I'm slightly reluctant to be too far away from home so close to my due date. But onward and upward the "Mumu" must be finished. This is essentially what I'm making. At any rate the changes to the pattern have turned out fairly well. I did also happen to find a dress at the Met Museum that does sport a straight waist. I had been concerned about historical accuracy even though I was going to wear the Mumu anyway. Comfort is comfort at this point.
 
 Here is the new neckline with the piping sewn in, by hand of course. The pattern states that you must use piped facing for the neckline and waistline. Honestly I don't know why it calls for this but I followed the piper and made it with piped facing.
 And here we have the mostly completed base dress. The pleating on the Mumu took FOREVER, we're talking like 4 hours total. I hate pleats now.....just FYI.
From the front it doesn't look so bad. But from the side....well it leaves a lot to be desired. I'll have to get into it and take a few pictures to tell but I think I could have cut the waist a little shorter.
I'm not sure if the corset I made will be comfortable enough to wear by the end of Feb. so I may have to just wear a modern bra with this. Gag! It makes my toes curl thinking about it. I shouldn't throw stones, ya know glass houses and all, but I can't stand to see women in period garb with a modern bra.
 
And lastly the dress from The Met. It's obviously very basic, front closing and so on. The museum dates in ca. 1940. I'm willing to go along with that.

Wednesday, January 1, 2014

1840 Day Dress: Reloaded

I'm hoping to attend Dickens Festival in February this coming year. My changing form certainly calls for a revision of the basic pattern. This was confirmed after I tried to put on the original version of this dress. Seen here.


So I cut out a larger size of the pattern and sewed a mock up in muslin and threw it on the dress form. By hand I roughly drew a new neck line and used my measuring tape to mark the new waistline.


Here is the finished mock up.


I'll be doing this dress in a solid navy blue and I haven't decided on what trim to use. I should have a lot more time coming up here. I'll start my leave soon and will for sure need something to work on to keep me entertained.